Create a Web Account for a Contact
The Process
The following steps outline the process of creating and authorizing a Web Account from an existing Contact card in Dynamics NAV.
After the Web Account has been created, the respective customer will be able to sign in to https://your-ecommerce.com, browse the product catalog with “their” pricing presented, and place orders on behalf of the respective Customer.
Step 1:
Navigate to the Contact List in Microsoft Dynamics NAV, and look up the person you wish to authorize.
Depending on your scenario, you can select either a particular person (indented under their company) or a company record (displayed in bold).
Step 2:
On Actions tab, click Web Account.
The system will check whether the Web Account has already been created for this Contact. If there is already a Web Account, the Web Account Card will be opened. Yet since we are creating a new Web Account, the following dialog will be presented:
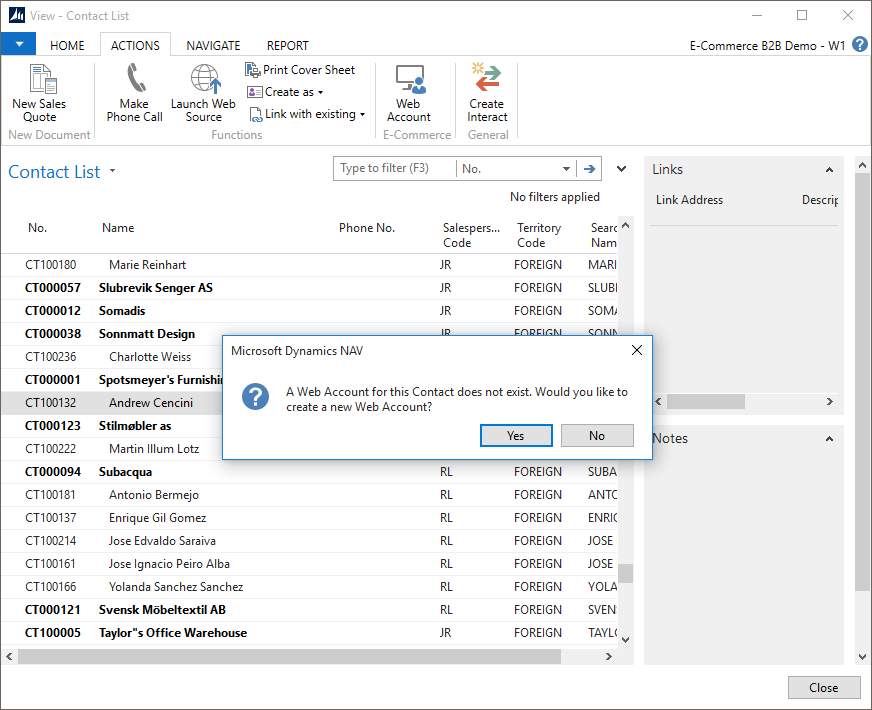
Clicking Yes will automatically create a Web Account based on the information present on the Contact Card, and the following dialog will be presented:
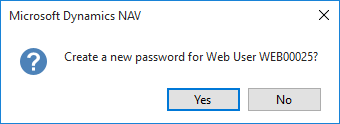
Clicking Yes will generate the initial password for the new Web Account and the next dialog will offer to instantly e-mail the welcome message to the person, including the e-commerce site URL and account details.
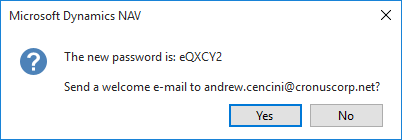
Clicking Yes will compose the e-mail message according to the template you have set up, and present the standard Dynamics NAV e-mail dialog:
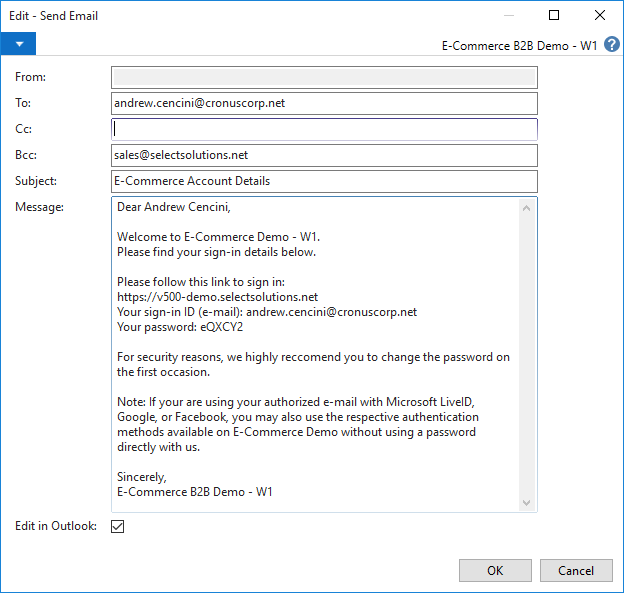
You can alter the e-mail text if neccessary, or click OK leaving the Edit in Outlook checkmark placed, which will open the e-mail in your Microsoft Outlook, where you edit and send the e-mail at your convenience. If you do not have Microsoft Outlook installed, clicking OK with Edit in Outlook checkmark removed will send the e-mail using the Dynamics NAV Server. Alternatively, click Cancel to skip sending the welcome e-mail.
You have now successfully authorized the contact, and the person may sign in at https://your-ecommerce.com.
Step 3 (optional):
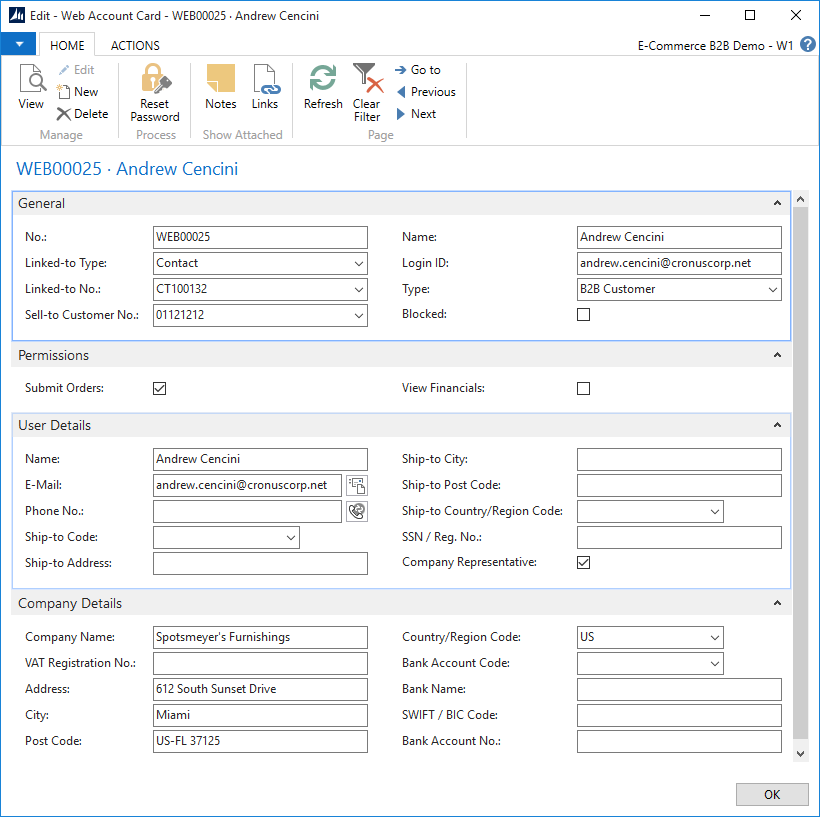
Clicking Web Account again will now open the Web Account card, where you can review and fine-tune the account details, e.g. assign the View Financials permission, which was not enabled by default.
Comments and Troubleshooting
- When authorizing a Contact, the automated process described above expects the Contact to be linked to a Customer by the means of Dynamics NAV standard Business Relationships functionality. In case it is not, the following error message will be displayed, and you should either click Create as - Customer first in order to create a customer card as per your Dynamics NAV setup, or create the Web Account manually.

- It is mandatory that at least the following fields are filled on the linked Customer card for the Web Account creation to succeed:
- Name
- Gen. Bus. Posting Group
- VAT Bus. Posting Group
- Customer Posting Group